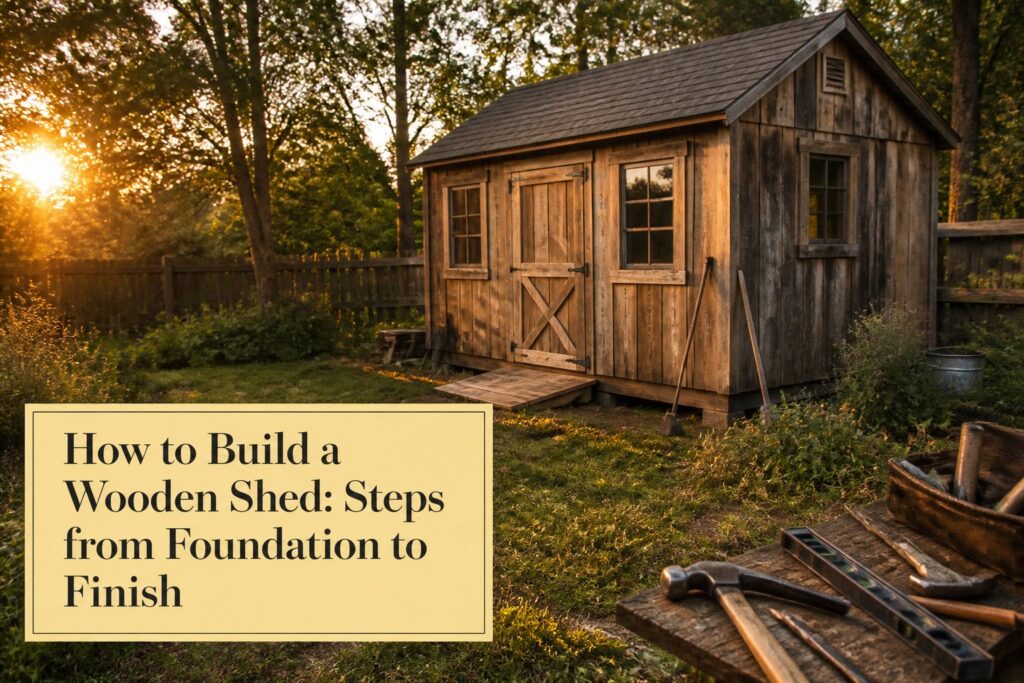
A finished wooden shed takes two people about one weekend and basic tools, but only if the foundation is flat before the first block goes down.
Most builds fail because someone skips that grading step and tries to level later with extra blocks, which always collapses within a few seasons.
Pressure-treated lumber for the frame, plywood for sheathing, and roofing you source yourself: that is the real material list, not the kit box alone.
[link-whisper-related-posts]1. Plan Your Shed
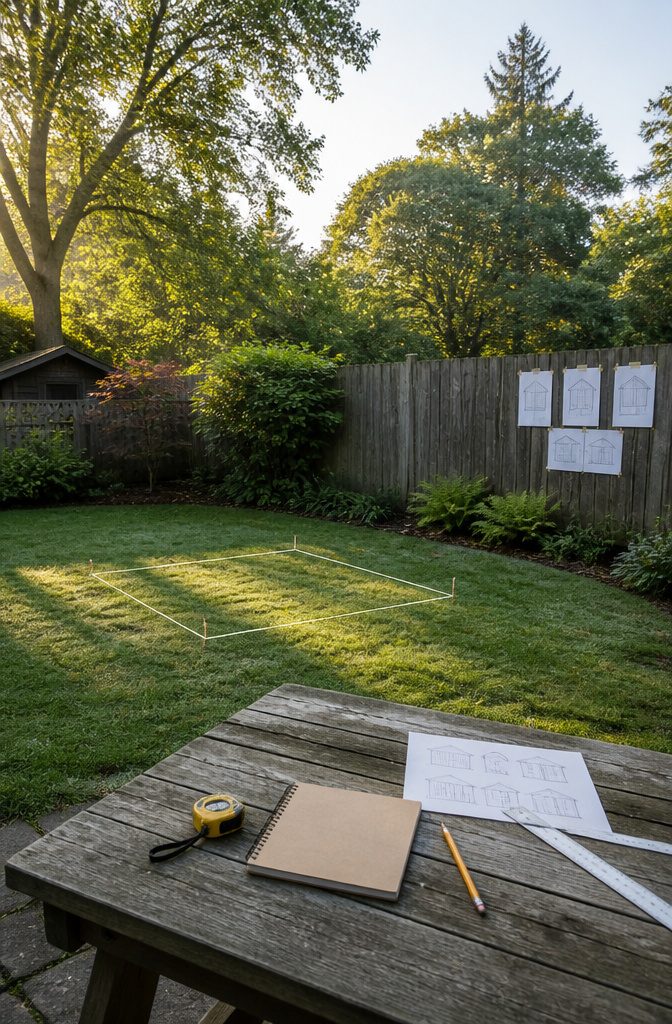
An 8′ x 8′ footprint handles most garden tool collections without eating the yard, while 8′ x 10′ gives you room to walk between shelves or stash a mower.
Anything smaller and you are fighting the walls; anything larger, the cost jumps faster than the square footage.
Purpose drives every choice after this. A potting bench needs different wall height than a bike rack, and if you are running power out there, the permit picture changes entirely.
Check local building codes before you buy a single board. Setbacks from property lines, height limits, and utility easements vary by city and county, and HOA rules can add another layer.
Prefab kits do not sidestep any of this; the building department cares about the structure in your yard, not how it was built.
I would rather spend an afternoon on the phone with the planning department than a weekend tearing down a roof I was told to move.

Versatile Applications: These foundation blocks are ideal for various projects, including decks, sheds, pathways, raised walkways, and other outdoor structures. Designed for easy installation, these pier pads offer solid footing for different building projects, providing robust deck support without the need for digging. This makes them a reliable solution for any home improvement or construction project requiring stable foundation blocks.

Durable and Strong Handi Block: Crafted for maximum strength, this Round Floating Deck Blocks ensures your structures remain secure and resilient, withstanding the test of time and harsh outdoor conditions.
2. Prepare the Foundation
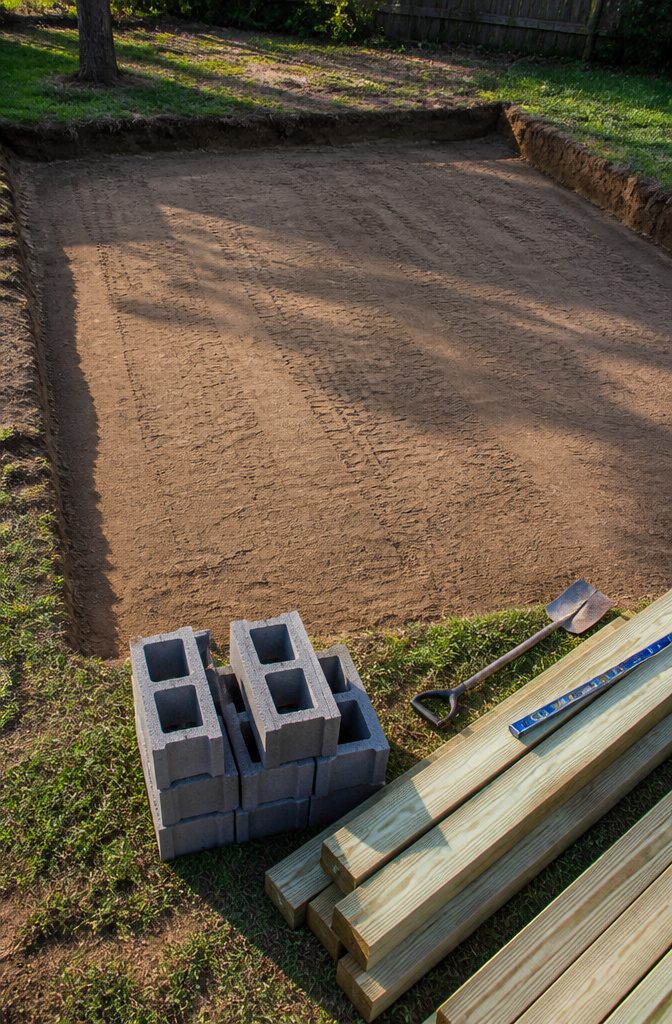
A shed that sits on ground that shifts or tilts will torque its frame, bind its doors, and rot from the bottom up within a few seasons.
The base is what separates a structure that lasts from one that becomes a leaning headache, so the ground must be flat before a single block goes down.
I would spend the first afternoon just grading and compacting, because filling low spots later with extra blocks is a fix that always fails.
Two materials work for the base itself: concrete blocks or pressure-treated lumber. Concrete blocks handle moisture better and give you a little elevation, which helps if the yard holds water.
Treated lumber is faster to level and easier to cut to length, though it will eventually take on rot if drainage around it is poor.
Either way, the finished base should extend a few inches past the shed footprint on every side. That overhang keeps splashback from soaking the walls and gives you solid footing while you work on the framing that comes next.

[Deck Screws]: The package comes with 100pcs of silver deck screws in #8x1-5/8"(Thread Dia x Length) screw size, Type 17 Tail Type, T25 Slot number. And 1pcs of star bit.

[Deck Screws]: The package comes with 500pcs of tan deck screws in #9x1-1/4"(Thread Dia x Length) screw size, Type 17 Tail Type, T25 Slot number. And 1pcs of star bit.

HEAVY-DUTY CONSTRUCTION: Constructed from sturdy 19-gauge steel and treated with a hot-dipped galvanized finish for maximum protection against corrosion. (Prongs / Spikes = 0.5 inch)
3. Gather Materials
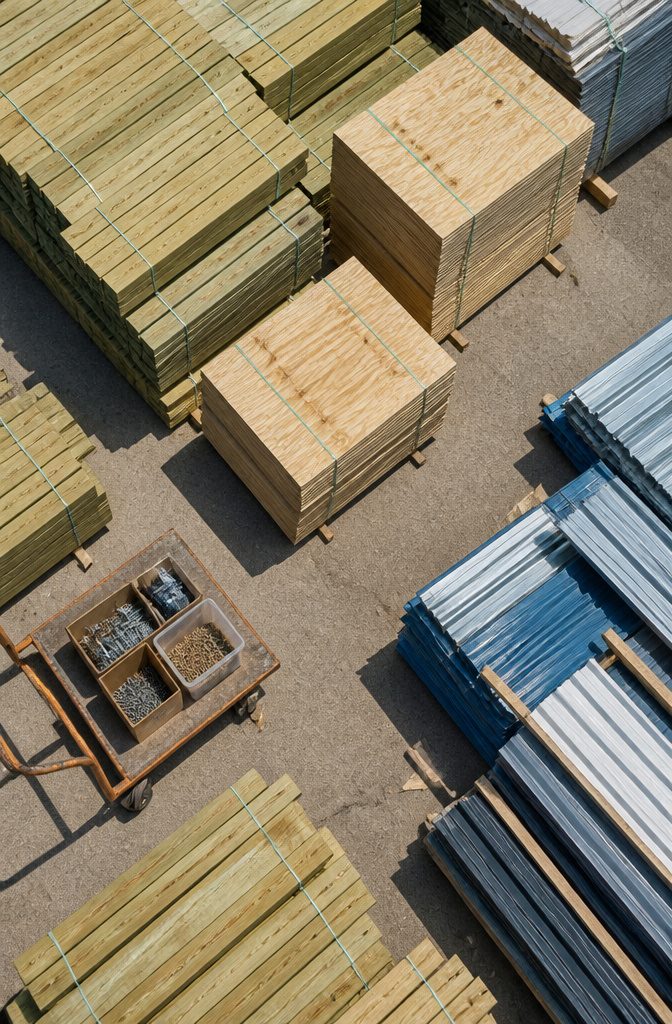
Pressure-treated lumber runs the foundation and framing, and that is what I would pick over anything untreated.
The chemicals in the treatment repel rot and insects well enough that most local codes accept it for ground contact without a separate barrier.
For walls and roof sheathing, plywood or OSB both work. Plywood handles moisture a little longer if the roof goes on late; OSB costs less and the sheets are flatter to start with.
I lean toward plywood for a shed I am building myself, mostly because I have seen OSB swell at the edges after an unexpected rain.
Roofing materials usually mean shingles, metal panels, or a roofing membrane. If you buy a kit, you will likely source these yourself, since most include pre-cut wood, primed siding, doors, and hardware but stop short of the roof covering.
That separation is not a flaw; it lets you match the shed to whatever roofing is already on your house.
- Pressure-treated lumber for the foundation and framing
- Plywood or OSB for walls and roof sheathing
- Roofing materials sourced separately if you use a kit
- Nails and screws in various sizes for framing and finishing
- Sealant for joints and seams against water infiltration
- Hinges and latches for doors, or pre-hung units if the kit supplies them

INSTALL SIDING, SHEATHING, PLYWOOD BY YOURSELF EASILY
4. Construct the Walls
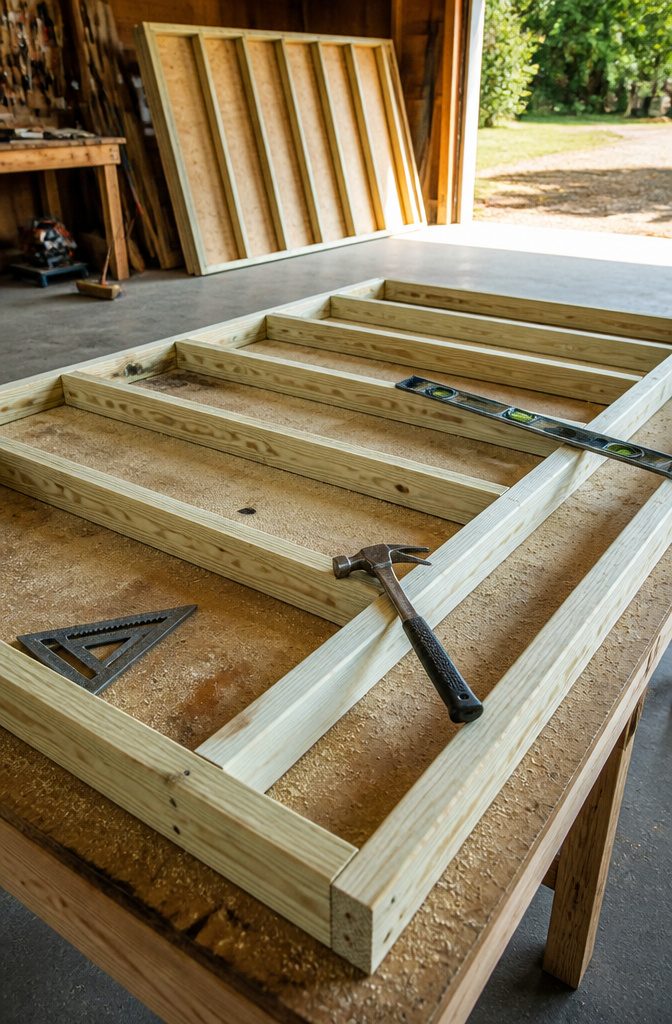
Build wall frames flat on the ground, then lift them into place.
A 3-4-5 triangle check on every corner keeps the frame square before you add the sheathing, because correcting twist after the wall stands means fighting the whole assembly.
- Cut studs to the planned wall height. Lay the top and bottom plates on the ground, mark stud spacing at 16 or 24 inches on center, then toenail or end-nail each stud into place.
- Add headers over any door or window rough openings now. Double up the king studs and jack studs beside the opening; the header carries the roof load around the gap.
- Raise the first wall frame onto the foundation. Brace it temporarily with a scrap 2×4 kicked out to stakes in the ground. The second wall connects to the first at the corner, so build and raise each adjacent wall in sequence, checking that the corner meets square before you tie them together.
- Secure the bottom plate to the foundation with nails or screws driven into the rim joist or blocking below. Nail through the base rail into the floor joists for speed, or use screws if you want the option to pull the plate free later if it warps. I would screw the bottom plate and nail the rest. The wall sheathing goes on after all four walls stand and tie together, which locks the square you checked.

EPDM RUBBER MATERIAL: Made with 53 mil thick EPDM rubber for superior durability and long-lasting roof protection.
5. Install the Roof
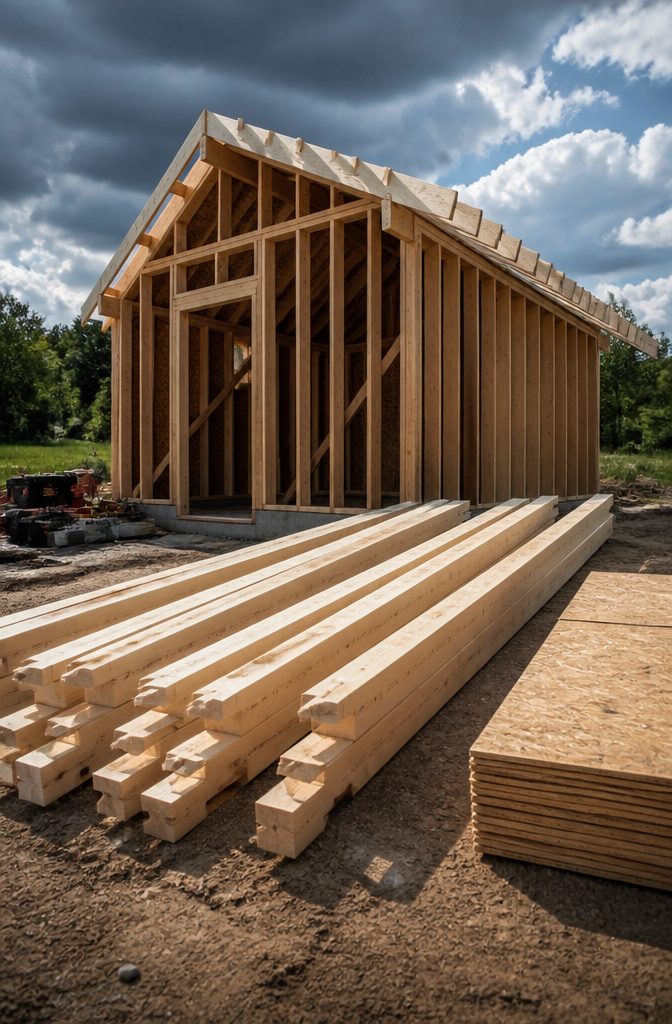
- Cut rafters to match your roof pitch and fasten them to the top plates with hurricane ties; the connection is what keeps the whole frame square when wind hits.
- Sheet the roof with plywood before anything else, running panels perpendicular to the rafters so each edge lands on solid wood; stagger the seams like brickwork so no single line weakens the whole plane.
- Let the sheathing overhang the fascia by an inch or so, enough to support the drip edge but not so much it curls or traps water.
- Lay roofing felt or synthetic underlayment from the eaves upward, overlapping each course in the direction water actually flows; getting this backward is how you end up standing inside with a bucket.
- Add shingles, metal, or corrugated panels the same way, bottom to top, lapping against the rain; in snow country or high wind, check your local load and uplift requirements before you commit to a material.
- Seal the ridge with cap pieces or a vented ridge roll, and pay attention to how the edges meet the walls; flashing there matters more than the field of the roof.
- Pick your roofing material with the next twenty years in mind: asphalt is cheap now and replacement later, metal costs more upfront and buys you a decade or two of not climbing back up.


26' x 26' - Two Car Garage With Loft - Building Plans
6. Add Doors and Windows
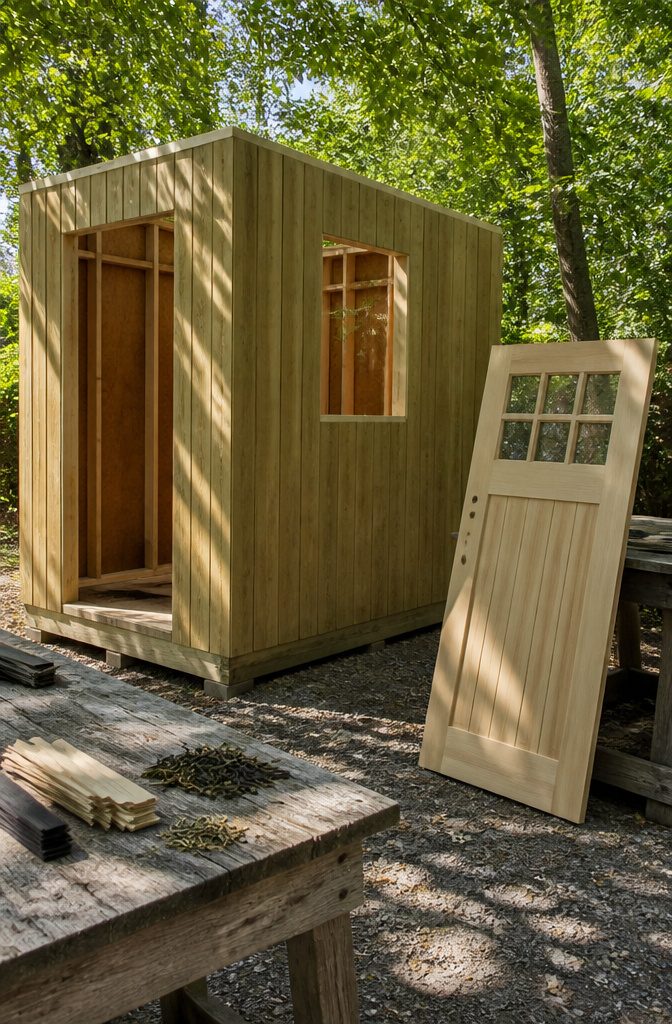
Pre-hung doors and windows save hours of fitting on site, but only if the opening is actually square and the unit is shimmed plumb before a single nail goes in.
I have seen people spend a full day wrestling wall panels into place, then slap the door in at dusk because they are tired and want to call the walls done.
That is the exact moment this build either stays tight for a decade or starts binding every June when the humidity swings.
Rush the door and you will be adjusting hinges every season.
The manufacturer instructions are worth following line for line here: set the unit on a level sill, plumb the jamb with shims behind each hinge and behind the strike plate, then check the reveal top to bottom before you nail the casing off.
For windows, the same rule holds.
Leave the protective film on styrene glazing until the pane is fully seated, and tap panel pins gently or use thin cardboard as a buffer so you are not scratching what you just paid for.
Seal the perimeter with silicone or mastic afterward; the shed walls will move, and a gap that looks cosmetic today becomes a water path by fall.
Hinges, latches, and locks should feel substantial in the hand. A solid frame deserves hardware that matches it, especially if you are storing anything worth keeping.

Durable and Strong Handi Block: Crafted for maximum strength, this Round Floating Deck Blocks ensures your structures remain secure and resilient, withstanding the test of time and harsh outdoor conditions.

▼ QUICK BUILD: Stackable & light. Easy & instant to ship, carry, position and install. Only weights 2 LBs/each, replaces heavy concret (50 LBs). No chipping or breaking. Stable solution & time saver to professional and DIY decking.
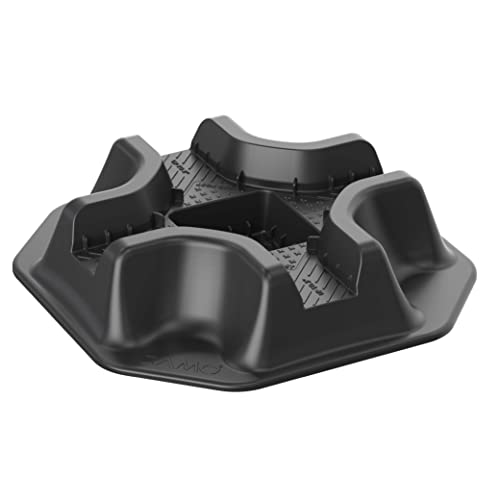
18X lighter than concrete deck blocks (1 CAMO BLOCK weighs 2.16lbs)
7. Finish the Exterior and Interior
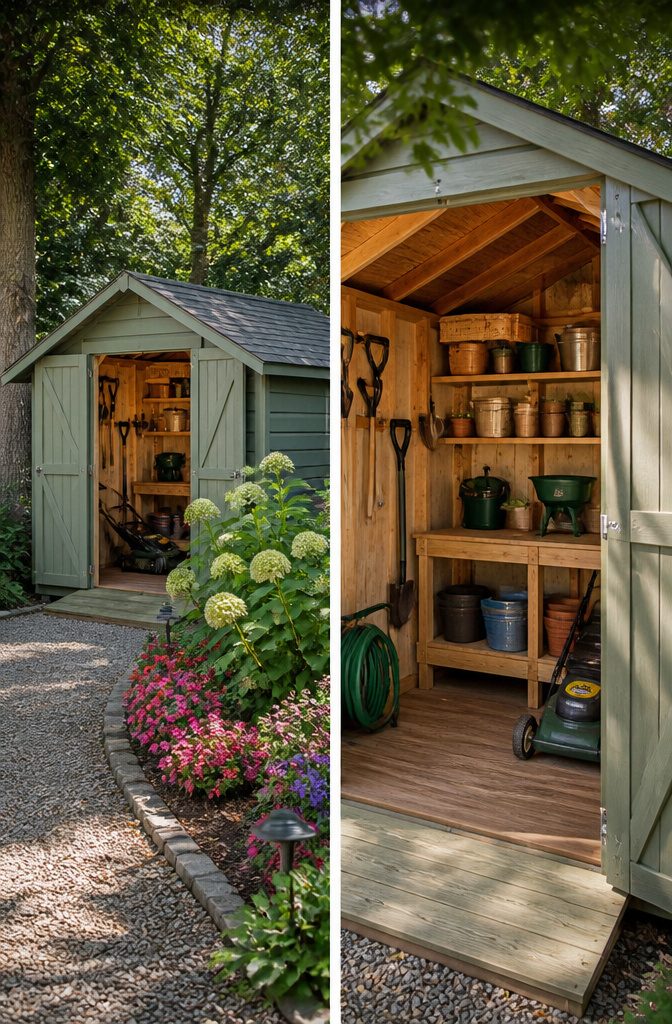
The finish you choose decides how long the wood lasts. Paint gives a harder shell against moisture, while stain lets the grain show through but needs reapplying sooner.
Either way, two coats with 24 hours dry time between them is the minimum; rushing this is how you get peeling in year two.
I would stain a shed I planned to keep natural-looking and paint one that already clashes with the house siding.
Inside, the shed only works if you can walk to the thing you need.
Shelves along the back wall keep the floor clear for a mower or bikes, and hooks at eye level near the door handle rakes and extension cords before they become tripping hazards.
I would build the shelving after the paint is fully cured, not while it is tacky; bumping a wet wall with a 2×4 frame wastes an afternoon.
Corner strips where the panels meet, secured with nails, clean up the seams and give the structure a more finished look. The shed stops being a project when your most-used tool is reachable without moving three other things first.

Built for Outdoor Excellence: You will get 1lb box (approx. 137pcs screws) #8 x 1-1/2" Black deck wood screws with T25 star bit,Tested to withstand over 2000 hours of salt spray exposure,feature a specialized external Black corrosion-resistant coating,withstand harsh weather conditions without breaking down.
HEAVY-DUTY CONSTRUCTION: Constructed from sturdy 19-gauge steel and treated with a hot-dipped galvanized finish for maximum protection against corrosion. (Prongs / Spikes = 0.5 inch)

[Deck Screws]: The package comes with 500pcs of tan deck screws in #8x1-5/8"(Thread Dia x Length) screw size, Type 17 Tail Type, T25 Slot number. And 1pcs of star bit.
Types of Sheds
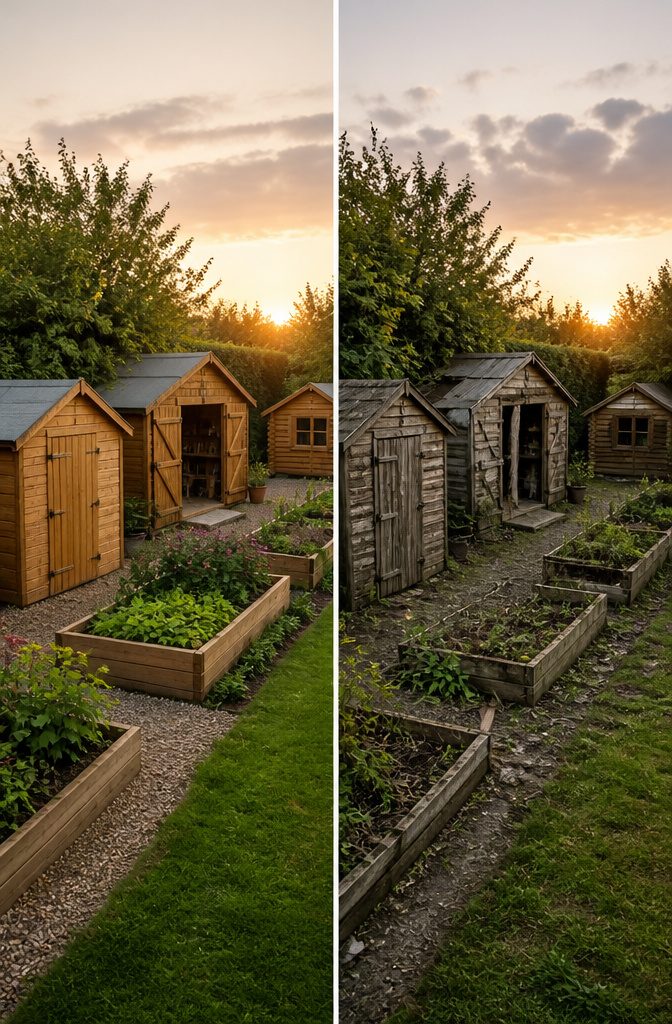
A wooden shed construction project starts with picking the right shape for what you actually need. The common types break down like this.
- Traditional apex sheds store tools, bikes, and garden equipment under a pointed roof that sheds rain and snow. I would pick this for basic storage every time; the roofline is simple to frame and the footprint stays compact.
- Workshops give you wall space for pegboard and a clear span for a workbench. If you are building from scratch, plan the door width around whatever largest machine you own; nothing worse than a tablesaw that fits inside but not through the opening.
- Log cabins read more like a room than a shed. The interlocked corners take longer to build and eat more lumber, but the finished look suits a home office or guest space where you will spend real hours.
- Summerhouses favor windows and seating over square footage. I would skip this unless entertaining is the whole point; the glass and trim add cost and maintenance for a structure that still stores nothing.
- Shed kits arrive with pre-cut timber, hardware, and instructions. They suit a first build because every joint is already figured out, though you trade the freedom to resize on the fly. The kit route also keeps you from buying raw materials separately and hoping the counts work out.
Essential Tools
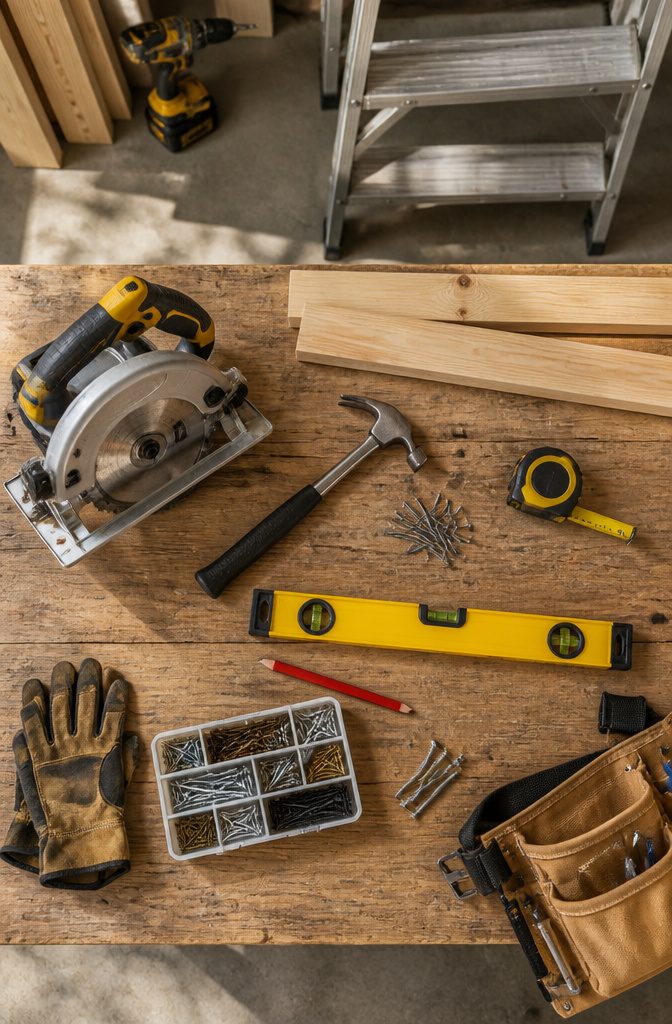
A circular saw is the one tool that decides whether this project stays a weekend build or stretches into a month of frustration.
Pre-cut kits still need trim work, and hand-sawing every piece turns a two-hour job into an afternoon of splinters. Borrow one if you must, but do not try to build a shed without it.
Here is what the build actually requires:
- Tape measure and speed square for layout and keeping corners square. These are cheap enough to own; the square especially earns its keep on any future trim project.
- Power drill with a #2 square drive bit. That bit matters because Phillips heads strip out in pressure-treated lumber, and you will feel the difference by the tenth screw.
- Hammer for trim and hardware. Any claw hammer works; this is not where your money goes.
- Level and chalk line to keep walls straight and mark long cuts. A 4-foot level is the practical minimum; the 2-foot version leaves you guessing on a 10-foot wall.
- Step ladder for roof and upper walls. People forget this until they are standing on a milk crate.
A monkey wrench or adjustable spanner appears on some lists for hardware, but I would skip it: the drill handles ninety percent of fasteners, and pliers cover the rest.
If you build once and quit, borrow the saw and ladder. If you tackle even one project a year, the drill and square are worth the shelf space.
Custom vs. Prefab Sheds
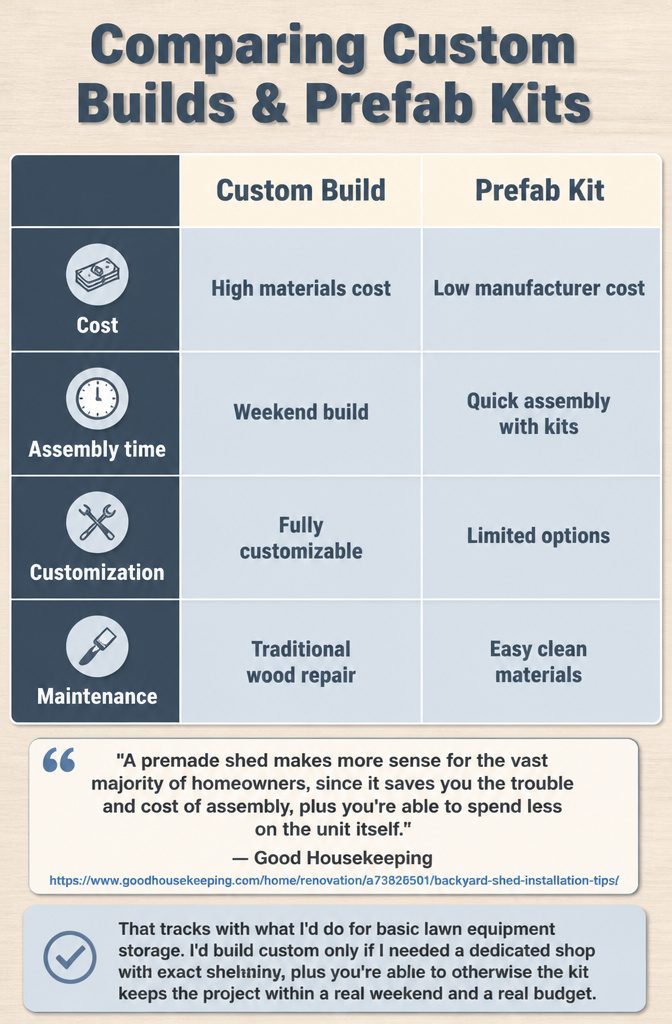
A prefab kit wins for straightforward storage, but a custom build pays off when you need exact sizing or heavier framing for a workshop. The real difference shows up in time, cost, and what you’re allowed to change later.
| Custom Build | Prefab Kit | |
|---|---|---|
| Cost | Materials add up fast: lumber, plywood, siding, roofing, fasteners, doors, hardware, paint, and foundation supplies | Usually less, since the manufacturer buys at scale and you skip design decisions |
| Assembly time | Full weekend or more, plus planning and cuts | Pre-cut components; faster assembly with basic tools |
| Customization | Shelving placement, door sizing, heavier floors, and future additions are wide open | Limited to options offered: predetermined sizes, primed siding you paint yourself, optional floor kit; roofing materials not included |
| Maintenance | Actual wood framing lets you modify and repair as needed | Varies by material; resin or plastic sheds clean easily and can be disassembled for moving |
"A premade shed makes more sense for the vast majority of homeowners, since it saves you the trouble and cost of assembly, plus you’re able to spend less on the unit itself."
That tracks with what I’d do for basic lawn equipment storage.
I’d build custom only if I needed a dedicated shop with exact shelving and heavier flooring; otherwise the kit keeps the project within a real weekend and a real budget.
How Long the Build Takes
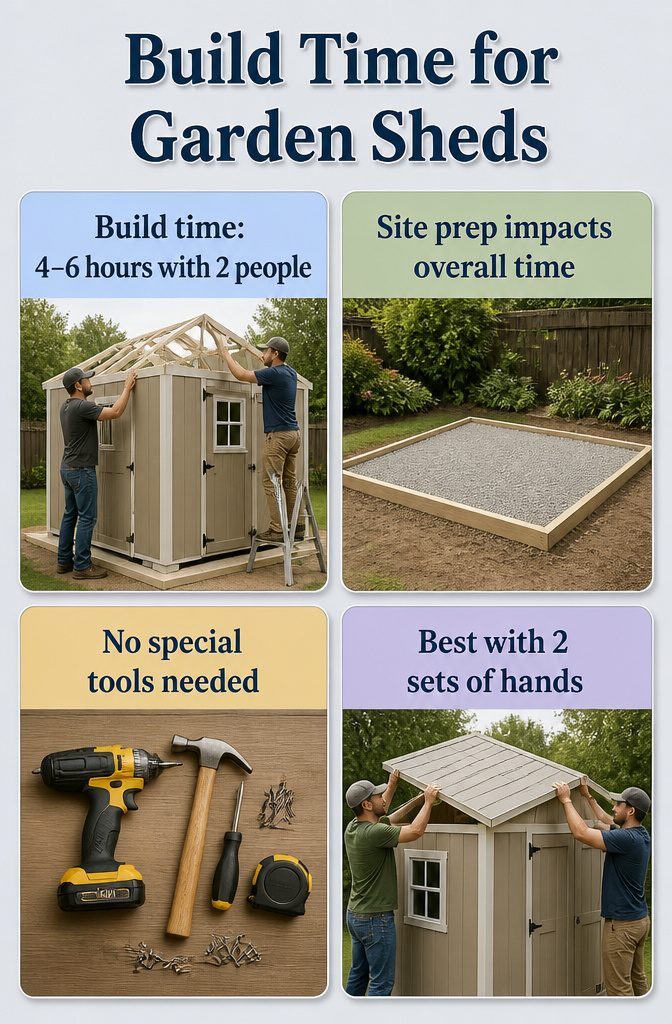
Most homeowners can assemble a standard garden shed over a weekend with 4–6 hours of actual build time if two people are working together.
The kits are designed for beginners, so no specialized tools or prior construction experience is necessary, and the step-by-step instructions keep the project moving without guesswork.
What stretches that into Sunday evening is usually site prep, not the assembly itself.
A foundation that is not level, hardware that scattered into the grass, or discovering mid-build that a panel warped in the shed box will cost you hours you did not budget.
I would rather sink that extra time into staging everything within reach the night before and checking each piece for damage while I still have the store’s return window.
Going solo is possible, but I would not recommend it.
Positioning wall panels or holding a roof section while you fasten it is where one person loses time and gains frustration. One extra set of hands changes the rhythm from a stop-and-start wrestling match into continuous forward motion.
Maintenance After the Build
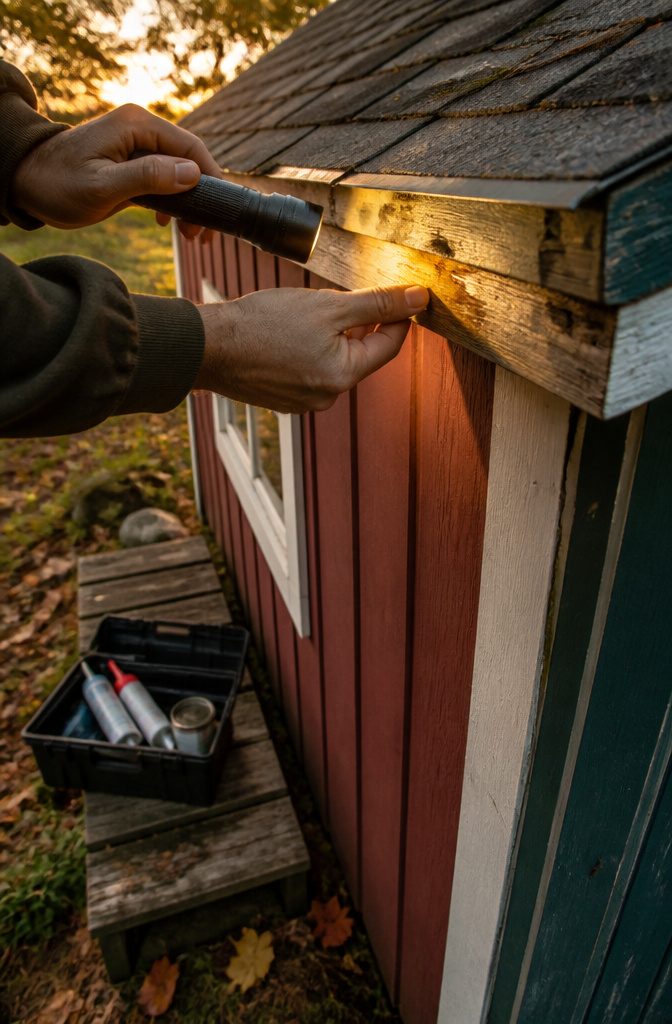
A wooden shed moves with the seasons, and the small shifts matter more than the dramatic failures. Pressure-treated lumber and a coat of paint or stain buy you time, but not immunity.
- Check the roof after every hard rain. A leak caught in the first season is a half-hour fix with sealant; ignored for a year, it rots the floor.
- Adjust the door when it starts to stick. Wood swells and shrinks with moisture, hinges loosen, and a door that drags wears its own frame out of square.
- Reapply paint or stain before the old coat fails. The passage from bare wood to rot is shorter than the warranty suggests; the coat is the structure’s real weatherproofing.
- Inspect hardware twice a year. Hinges, latches, and locks carry the security of whatever you store inside, and flimsy hardware on a solid frame is a weak point you chose.
- Keep gutters and drip edges clear. Water that pools finds the gaps you did not.
Frequently Asked Questions
How long does it take to build a shed?
Most homeowners can assemble a standard garden shed over a weekend with 4–6 hours of actual build time if two people work together.
What stretches that into Sunday evening is usually site prep, not the assembly itself. Going solo is possible, but one extra set of hands changes the rhythm from a stop-and-start wrestling match into continuous forward motion.
What materials do I need to build a shed?
You will need pressure-treated lumber for the foundation and framing, plywood or OSB for walls and roof sheathing, roofing materials, nails and screws in various sizes, sealant for joints and seams, and hinges and latches for doors.
If you buy a kit, you will likely source the roofing yourself, since most kits include pre-cut wood, primed siding, doors, and hardware but stop short of the roof covering.
Do I need a permit to build a shed?
Check local building codes before you buy a single board. Setbacks from property lines, height limits, and utility easements vary by city and county, and HOA rules can add another layer.
Prefab kits do not sidestep any of this; the building department cares about the structure in your yard, not how it was built.
What wood should I use to make a shed?
Pressure-treated lumber is the right choice for foundation and framing. The chemicals in the treatment repel rot and insects well enough that most local codes accept it for ground contact without a separate barrier.
For walls and roof sheathing, plywood handles moisture a little longer if the roof goes on late, while OSB costs less and starts flatter.
Is it cheaper to build a shed yourself?
A prefab kit usually costs less than a custom build, since the manufacturer buys at scale and you skip design decisions.
A custom build pays off only when you need exact sizing or heavier framing for a workshop; otherwise the kit keeps the project within a real weekend and a real budget.
I would build custom only if I needed a dedicated shop with exact shelving and heavier flooring.
How do I insulate a shed?
For that, you would need to research wall cavity insulation, rigid foam boards, or spray foam applied to the interior, depending on whether you plan to heat the space or simply moderate temperature swings.