The 5 builds below range from a weekend with plastic sheeting and a shovel to a stone-and-glass structure that outlasts your mortgage.
The deciding factor is whether you need a season extender for kale and starts, or a year-round growing room that holds a sofa through January, and each of these 5 builds answers that question differently.
I wouldn’t dig anything without first checking the water table; a flooded pit is a ruined greenhouse, and every one of these designs starts with a hole.
[link-whisper-related-posts]1. Walipini Greenhouse
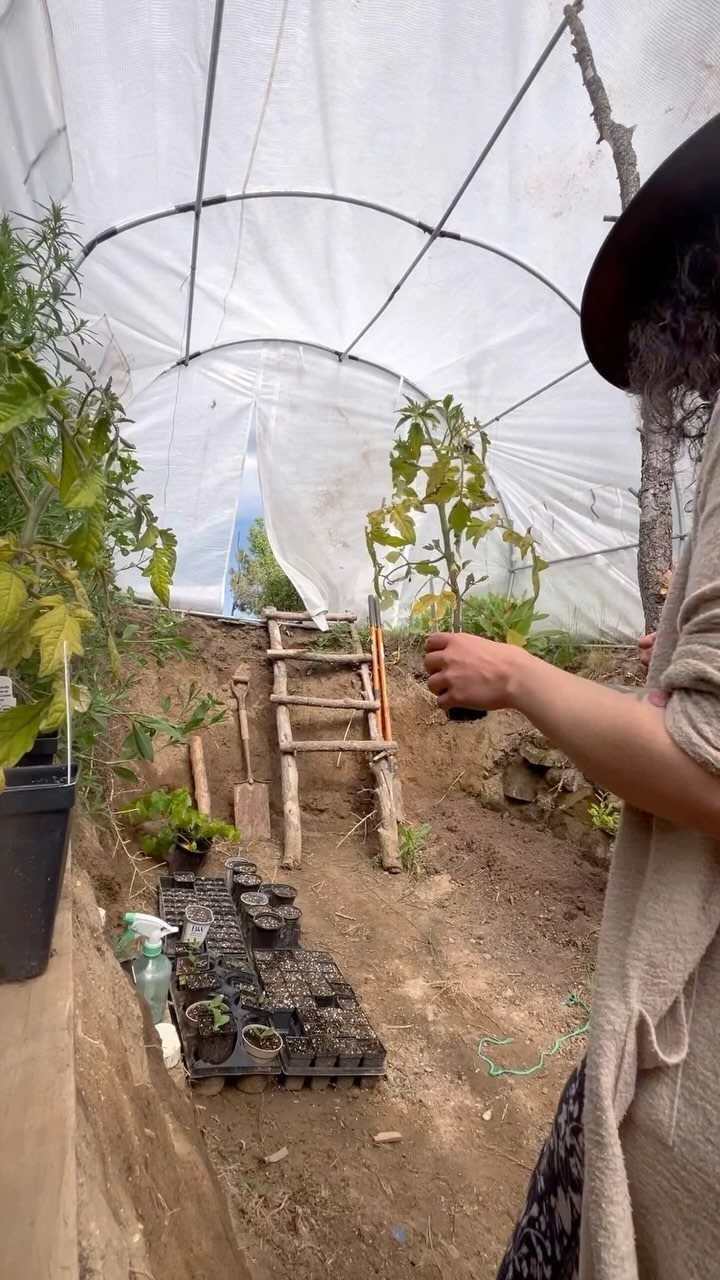
A Walipini is a greenhouse dug into the ground, with earth walls that store heat from the day and release it overnight. White plastic sheeting across the roof keeps the build cost low, though you’ll replace it every few seasons.
Before you dig, check your water table. This design fails if the pit floods, and I wouldn’t attempt it on flat land without a perimeter trench or sump plan.
The dirt walls need some kind of facing, even rough boarding, or they’ll slough onto your seedlings every spring thaw.
The slope angle matters more than it looks; too steep and hauling soil out becomes miserable, too gentle and you lose growing depth. I’d leave enough wall above floor level that cold air can’t pool at your feet.

6 Mil Clear Greenhouse Plastic Cover: Our greenhouse plastic 6 mil made from premium polyethylene, which is tear-resistant, UV protected, superior strength and toughness for used long time. The greenhouse film is protect plant from various weather, create an optimal greenhouse environment and stable growth environment for the plant
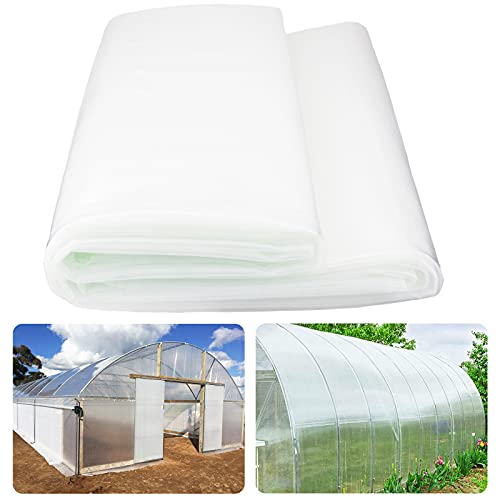
Premium Greenhouse Cover: 6 Mil thickness green house plastic is made of premium flexible polyethylene, Create an optimum greenhouse environment, Tear resistant, Superior strength and toughness for long lasting... NOTE: If you want to order Film Repair Tape, please search B0BDWMYKCS at Amazon

Warm yet Ventilated: With the zippered roll-up door and 2 side windows, you can regulate external airflow to keep the plants warm and provide better air circulation for the plants, and works as observation window that makes it easy to peek inside
2. Earth-bermed Greenhouse Build
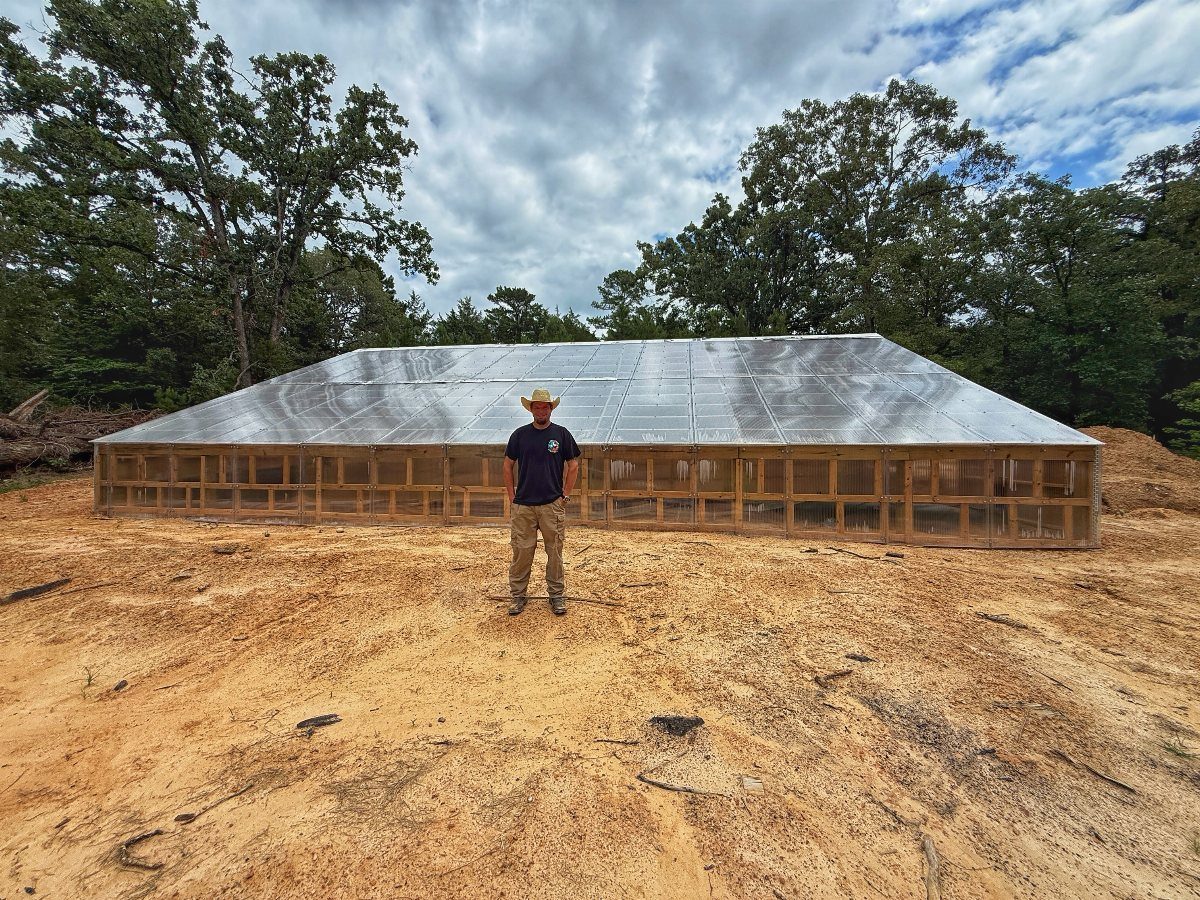
This build pushes a wooden frame against an existing dirt berm and roofs it with corrugated clear panels at a slope.
The berm does the insulation work on the back wall, so you’re only framing and glazing the front and roof; that cuts both material cost and the skill level needed.
A clearing beats dense woods for this build; you need sun on that berm, not root systems fighting your walls.
You need sun on those panels from late morning through afternoon, and tree shade that shifts with seasons is hard to predict.
The low profile also means less wind load than a tall greenhouse, which matters if you’re in a zone with winter storms.
What I’d check first: how the berm drains.
Water coming through that back wall rots your frame. A French drain at the base, or at minimum a heavy poly sheet behind the wood, is worth the afternoon it takes.

Strong,Lightweight and Shatterproof Material: The polycarbonate panels possess excellent impact strength and are highly shatterproof, making them sturdy and durable enough to withstand severe weather conditions and accidental falls that could cause fragmentation.

Product Introduction Transparent lighting panels are a kind of high-strength, high-transmittance lightweight roof and wall lighting building materials. They are mainly used in scenes such as factories, carports, awnings, greenhouses, passage ceilings, etc. that require natural lighting. It can replace traditional glass and plastic panels, taking into account lighting, waterproofing and lightweight. It is a commonly used energy-saving lighting material in industrial and civil buildings.
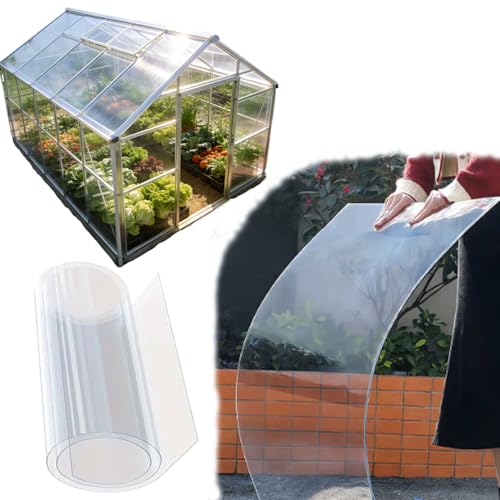
High Transparency with Glass-Like Clarity: These polycarbonate panels offer 90%+ light transmission, comparable to glass, maximizing sunlight for plant growth. Built-in UV-resistant coating blocks 99% harmful rays, preventing yellowing and protecting plants from scorching for year-round greenhouse gardening
3. Hillside Earth-sheltered Greenhouse
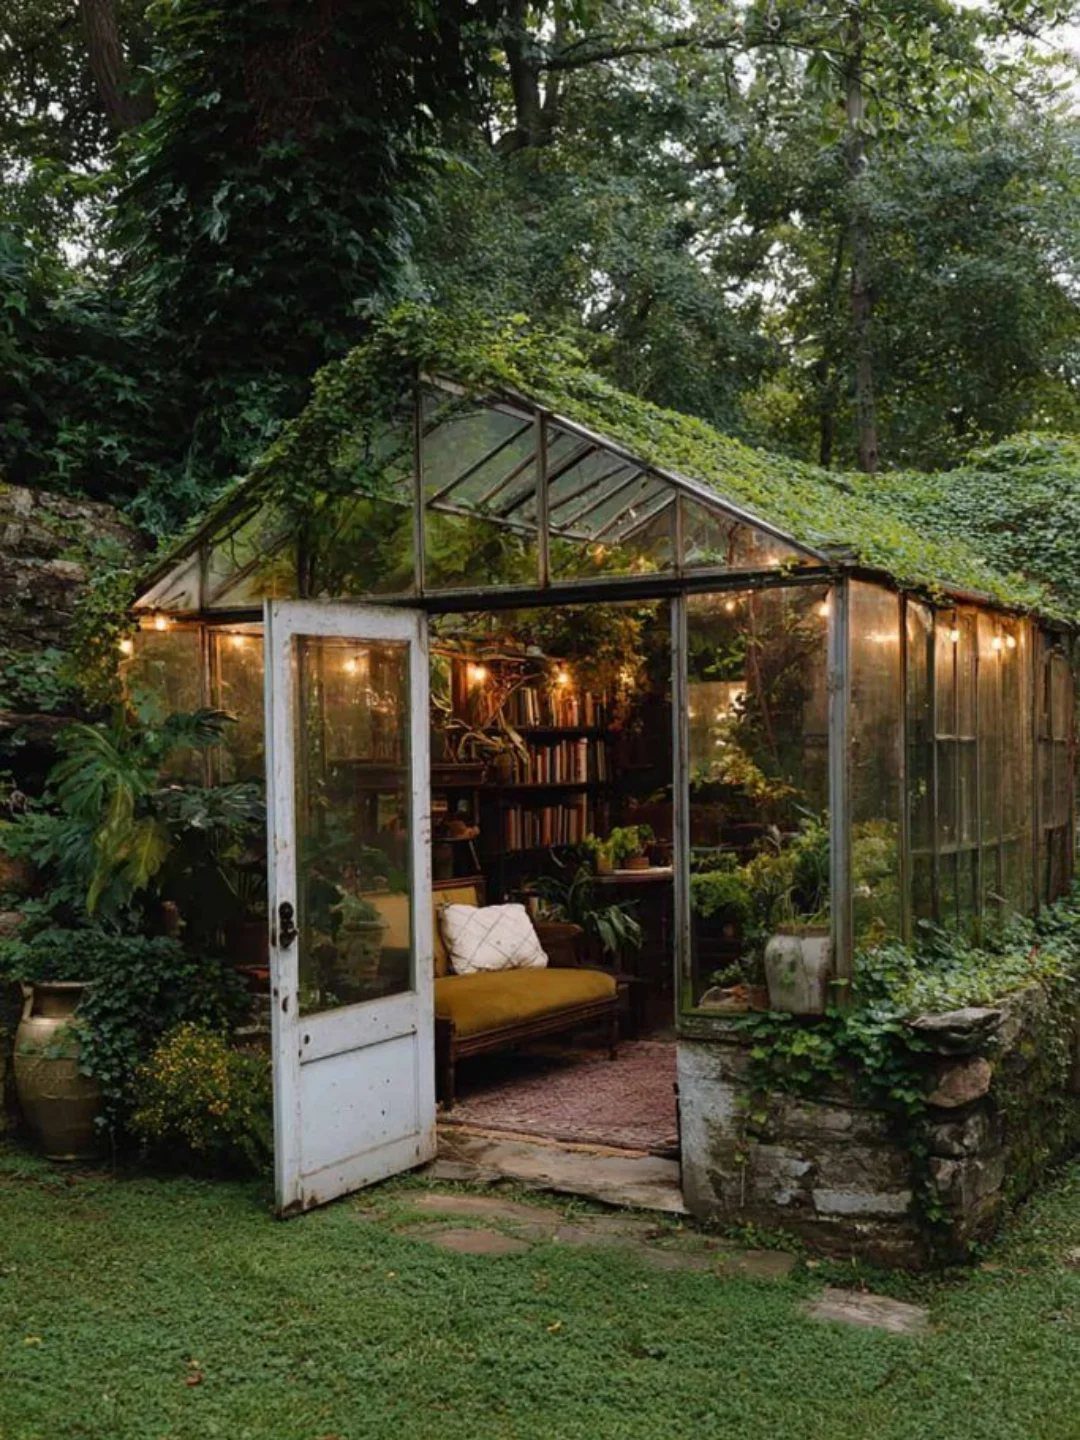
This is the version that looks like it grew there.
A glass greenhouse set into a hillside, with stone foundation walls and ivy softening the edges. Inside, it’s furnished as living space, sofa and all, which tells you the temperature stays stable enough for people, not just plants.
The stone base is doing real work: thermal mass, moisture barrier, and structural hold against the earth pushing in.
I’d never build this without that solid footing, and I’d want the stone to extend below frost line or the whole thing shifts in winter.
The glass walls and roof need precise flashing where they meet the hillside, or you get the leak that ruins the sofa.
This suits someone who wants greenhouse function but won’t tolerate an ugly backyard structure. The trade is cost and permanence; you don’t move this when you move house.

PATENTED two-piece filter. Pull it straight from the box and place it over your existing drain. Protects round drains up to 8.5" diameter, square drains 6" per side.

VERSATILE COMPATIBILITY: Designed for use with 3" and 4" thin wall drain pipes, providing flexibility for various drainage applications.

Superior Drainage & Flood Protection: Designed with an expanded drainage surface, this cover efficiently redirects rainwater, preventing backflow, soil erosion, and foundation damage. Ideal for retention ponds, culverts, downspouts, and sewage pump outlets, it keeps your property safe from water-related issues.
4. Pit Greenhouse with Log Framing
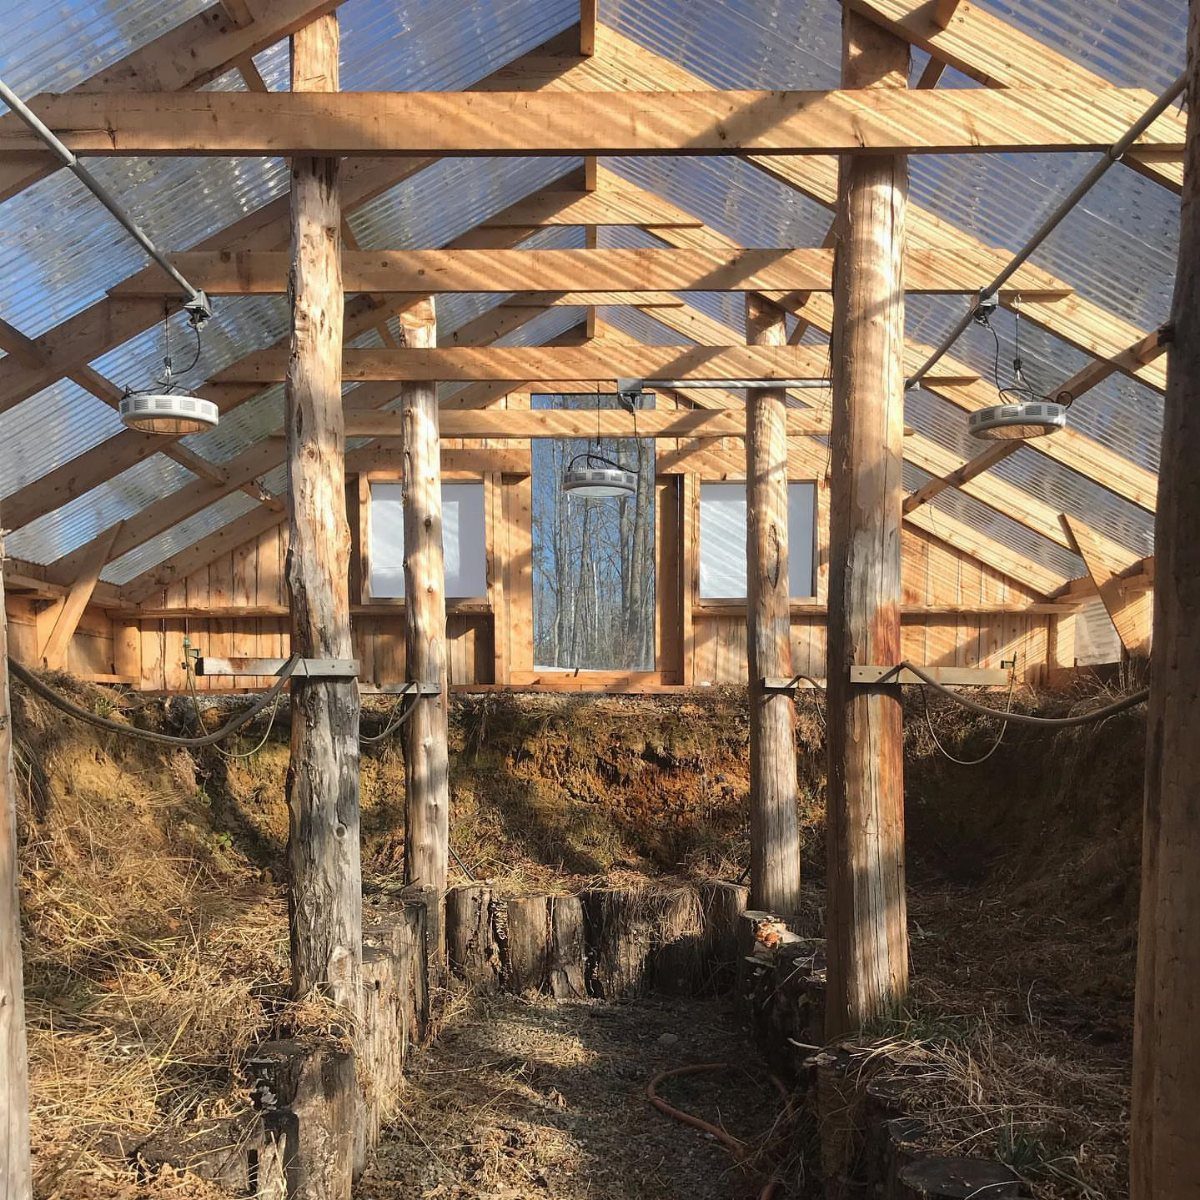
Thick log pillars and timber trusses frame this pit greenhouse, with corrugated panels overhead and grow lights hung for the short days. The exposed dirt banks are the insulation; the logs are the structure that keeps them from caving in.
The scale of those logs matters. They’re doing the work of concrete or block walls in other builds, and they need to be genuinely large, not decorative 4×4 posts.
I’d source them green, oversized, and expect some settling in year one; shim and tighten the fasteners next spring.
The grow lights tell me this builder expects to use the space through winter, when the sunken design helps but doesn’t solve the light problem entirely.
If you’re south of zone 6, you might skip the lights and still harvest greens in January. North of that, budget for LED fixtures or plan a dormant season.

High-Quality Polyethylene Material: The greenhouse film is made of high-quality polyethylene with 6 mil thickness, tear-resistant and against UV radiation for long-lasting uses.

Ultimate Plant Protection: Our greenhouse protects your plants and veggies from cold, frost, snow, rain, winds, sun, and unwanted animals. The translucent polyethylene film transmits light while retaining heat and moisture, promoting early growth and long-lasting survival

Pamper Your Plant: Ohuhu Tomato Greenhouse helps create an ideal growing environment for your plants and veggies. It effectively protects your flowers and plants from cold, frost, snow, rain, strong winds, scorching sun, and unwanted animals. White translucent polyethylene film transmits light while keeps heat and moisture in, greatly helping your plants grow earlier and survive longer
5. Sunken Glass Greenhouse with Walkway
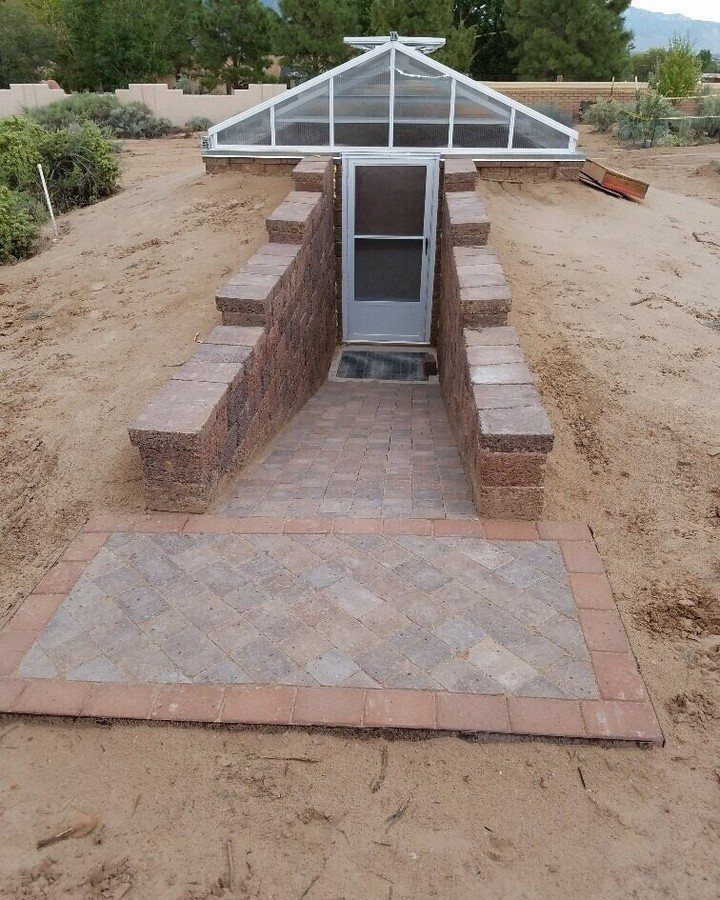
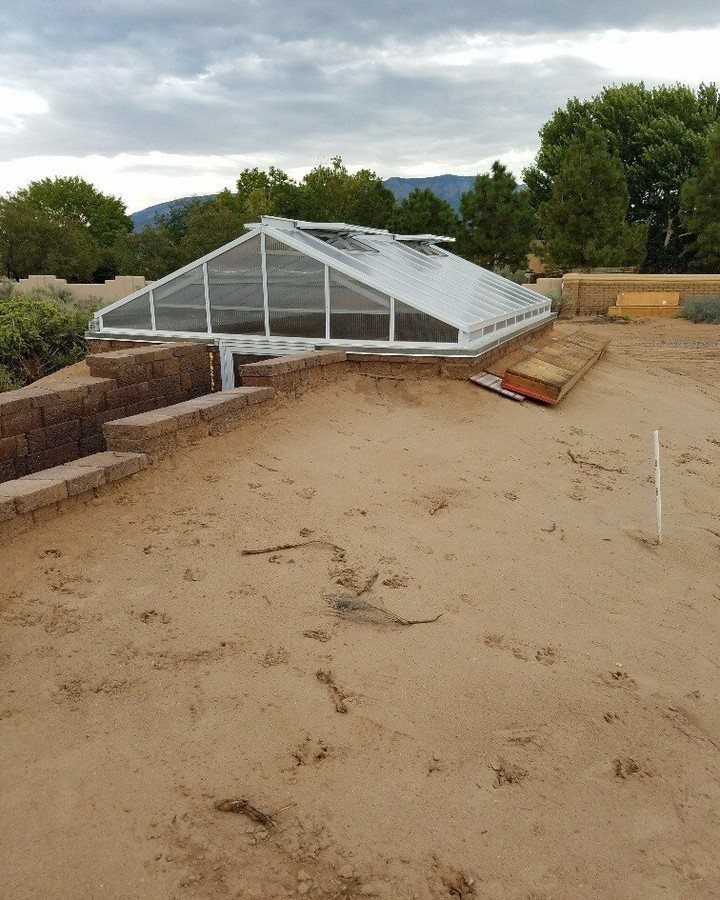
A peaked glass roof set into the ground, with a brick walkway sloping down between stone retaining walls to a storm door.
The walkway gives you level access through the slope, and I would want a French drain or gravel bed running alongside it to catch water before it reaches the door.
The retaining walls are load-bearing, not decorative. That earth wants to slide into your hole, and I’d want the stone mortared or the blocks pinned, not dry-stacked.
The storm door is a tell, too: this builder knows the below-grade entry catches every wind that blows, and a standard exterior door would leak and rot.
The sandy soil visible around the site is actually helpful; it drains fast, which is what you want when you’ve cut a pit.
In clay I’d add perimeter drainage before I set a single brick. The glass peaked roof gives better snow shedding than flat plastic, but I’d still plan to clear heavy loads from inside with a pole, not climb on it.

High Transparency & Glass-Like Clarity: Made with premium polycarbonate material, these panels offer excellent light transmission with a glass-like clear appearance, maximum sunlight for plant growth

Reliable to Cover: the polycarbonate greenhouse panels are made of polycarbonate, which is not easy to break or fall from the greenhouse, you can confidently use them to cover your greenhouse to make your plants grow better

Multi-Purpose Chicken Coop Rain Cover :Chicken Run House can provides a large enough space for about chickens to play and rest. Or used as a habitat for small pets such as rabbits, ducks, cats, dogs, goats, birds, etc. This is the perfect size for your chicken runs for yard with cover
Heating Options
Even with earth banked against your walls, heat still escapes through the glazing at night.
Double- or triple-layer glass or plastic helps; if that’s out of budget, thick mats or blankets rolled over the glazing after dark cut loss enough to matter.
In Zones 5 or below I’d do this regardless of how thick the glazing is.
Face your largest glazed wall south to catch passing sunlight, and check the winter sun angle before you break ground. A tree that clears the roof in June will block half your day come December.
Small heaters backup the earth insulation in the coldest zones, though I’d try the mats first; most years they handle the worst nights without the electrical draw.
French drains around the outside move groundwater and rain away from your footings, worth the afternoon with a trencher before you set a single frame piece.
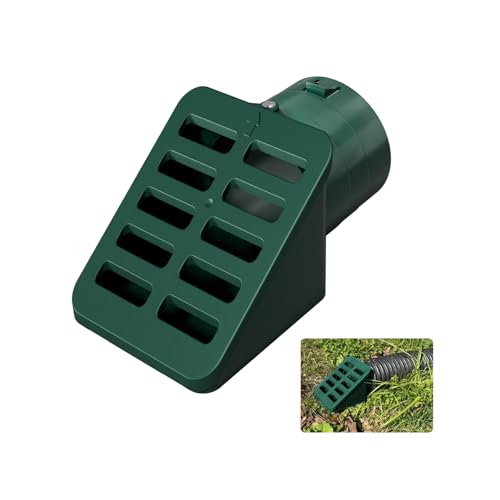
Universal Compatibility: This innovative drain grate cover is designed for 4" SCH 40, 4" SDR 35, 4" Corrugated Pipe. It provide a stable and quick connection for most drainage systems while ensuring a seamless fit during water draining

Durable Construction: Solid plastic material ensures long-lasting performance and reliability in pond applications

Suitable for various scenarios: Our drainage collection tank does not have reserved holes. You can use the drilling kit to cut the diameter according to the already underground courtyard drainage system, suitable for all pipes without the need for other diameter conversion tools
Planting Strategies
A sunken greenhouse buys you weeks on both ends of the season, but the plants inside still live by daylight hours and soil temperature, not your calendar.
The real skill is matching what you sow to what the pit can actually deliver that month.
Start with cold-hardy greens in late winter; the earth walls keep them from freezing even when outside air still bites.
Rotate fast-maturing crops through the warm months, and plan your heavy feeders for the stretch when the thermal mass peaks and nights stay mildest. By late fall, shift back to roots and brassicas that shrug off shorter days.
Good gardening books and local extension schedules matter more here than in an above-ground house because you can’t vent heat as fast on an unexpectedly warm March afternoon.
Track your own pit’s temperature swings for a full year before you bet the harvest on a single schedule.

Warm yet Ventilated: With the zippered roll-up door and 2 side windows, you can regulate external airflow to keep the plants warm and provide better air circulation for the plants, and works as observation window that makes it easy to peek inside

Ultimate Plant Protection: Our greenhouse protects your plants and veggies from cold, frost, snow, rain, winds, sun, and unwanted animals. The translucent polyethylene film transmits light while retaining heat and moisture, promoting early growth and long-lasting survival
Construction Challenges
Hand-digging a Walipini or full pit is possible if you’re young, patient, and the soil is loose. For anything wider than a single parking space or deeper than chest height, I’d rent a mini-excavator or hire an operator with one.
Renting a mini-excavator for the day costs less than you’d think; your back will consider it cheap at twice the price.
The machine does the bulk cut, but you’ll still hand-finish to grade for your footings and drainage pitch. Call your utility locator before either machine or shovel hits dirt; an afternoon delay beats a ruptured gas line.
Earth berms need less digging than full pits, though you’re still moving soil to shape the back wall. A small loader attachment on a compact tractor handles that volume if you have access.
I’d line up the equipment before I pull permits, not after; weekend rental shortages are real in spring, and exposed open pits turn to swimming pools the first hard rain.
Frequently Asked Questions
What are the disadvantages of Walipinis?
A Walipini fails if your water table sits high enough to flood the pit, and flat land without drainage planning is risky.
Without some kind of facing, the earth walls will slump onto your plants when the ground thaws each spring, and count on swapping out that plastic roof sheeting after a few seasons of sun and snow.
In the far north, the sunken design also loses growing depth if your slope angle is too gentle.
Can you have a greenhouse in a basement?
A basement greenhouse faces the same core problem as any underground build: no direct sun means no heat storage and no plant growth.
A basement greenhouse misses what makes sunken designs work: the angled, south-facing glazing that pulls in light as the sun moves across the sky.
You’d need grow lights and heaters running constantly, which defeats the budget and simplicity that make underground greenhouses worth building.
How much does it cost to build an underground greenhouse?
A DIY Walipini can run under $300 if you do the digging yourself and use white plastic sheeting for the roof.
Costs climb if you rent a mini-excavator for wider or deeper digs, or if you switch to glass, stone, or timber framing for a more permanent build.
The earth-bermed version cuts costs further by only framing and glazing the front wall and roof, with the dirt berm doing the insulation work.